
-
 Classic Round Base 18″$87.50
 -
 18″ Square Stable Mabel Classic Set$124.00
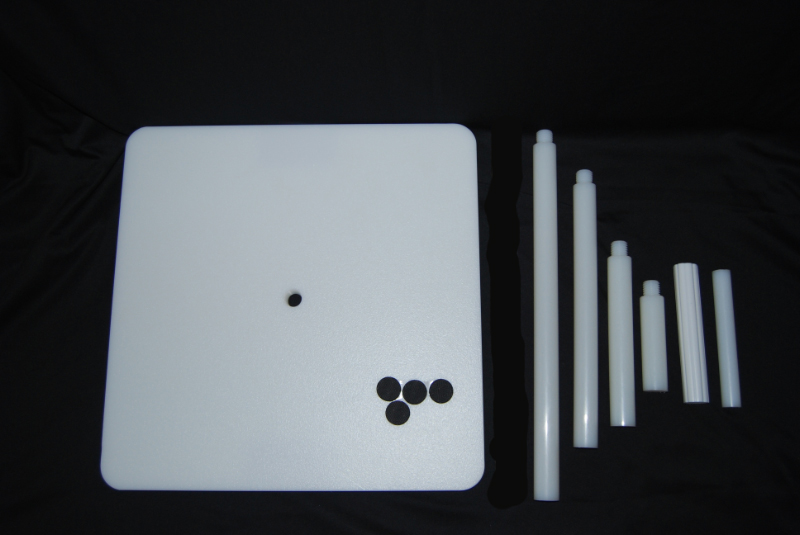
Stable Mabel Classic Sets
Stable Mabel Cake Stands are designed to support tiered cakes, both stacked and separated. All materials are NSF food grade poly and are completely washable.

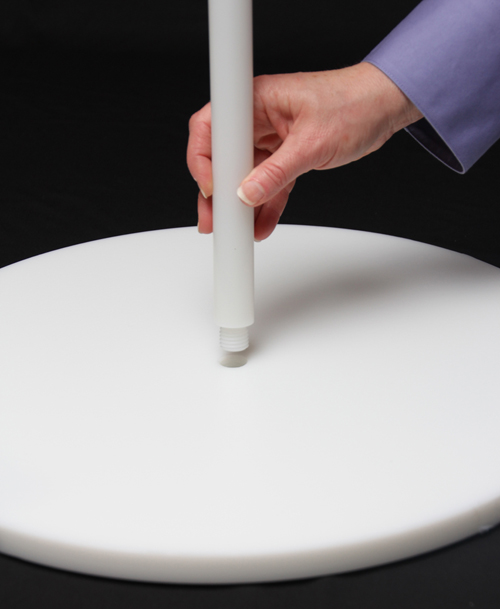
Each set includes 4 solid, center posts 4″ 8″, 12″ & 16″ providing sturdy support for cakes from 4” to 28” high. The center post is threaded and attaches securely to the base. Bases come in both round and square, 16″ or 18″ round. Use Stable Mabel plates or any plate or cardboard with 1 1/8″ hole in the center. Design of the stands ensures all cakes will be automatically centered.
Also included is a cake coring tube with plunger. The Stable Mabel set can be used with any type of support, take a look at our dowel rod support kit on the products page. Hand holds in the base provide easy access for lifting.
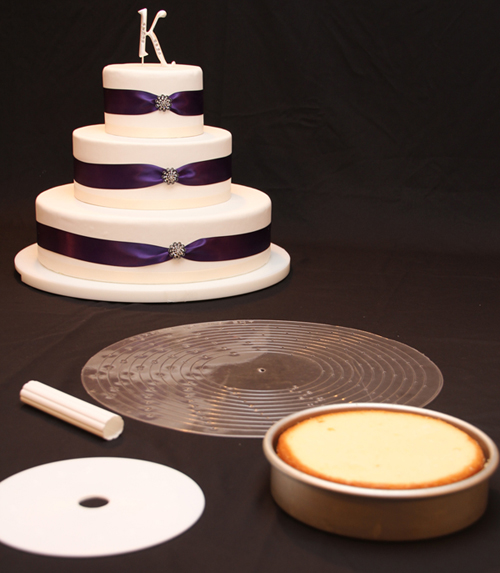
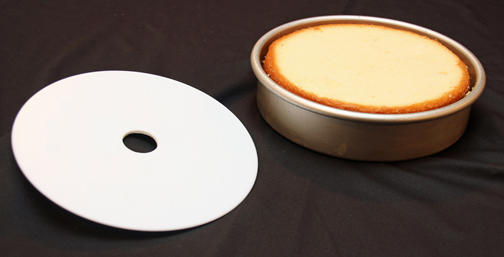
Place cakes on Stable Mabel cake plates or boards that have been prepared with a hole cut in the center.
If you are not using Stable Mabel precut plates, simply use an x-acto knife to cut a hole in the center of your cardboard or foam core board (a square hold will work fine) or use a 1 1/8″ hole saw to cut a hole in the center of a plastic plate, cardboard or foam core board.
Ice and decorate cakes
Attach the appropriate length of post to the base. For extended length attach either the 4.75″, 8″‘, or 12″ post to the top of the 16″ post. Stable Mabel cake stands are not intended for use with cake higher than 28″.
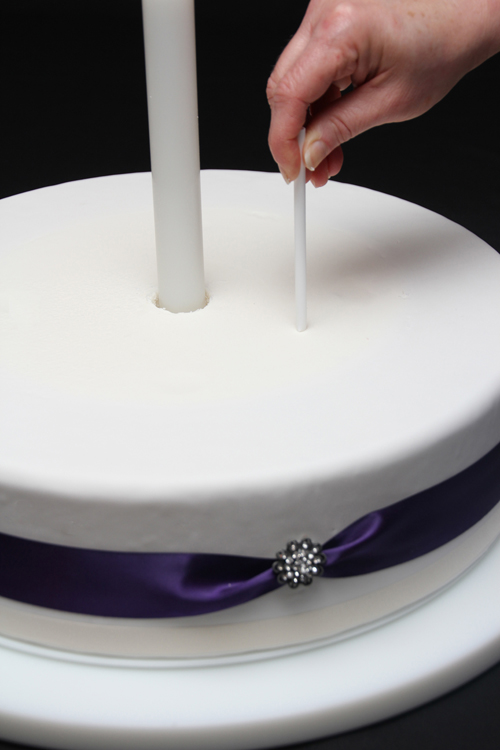
Using a Smart Marker (available for purchase), mark the center of the cake with a knife tip or toothpick
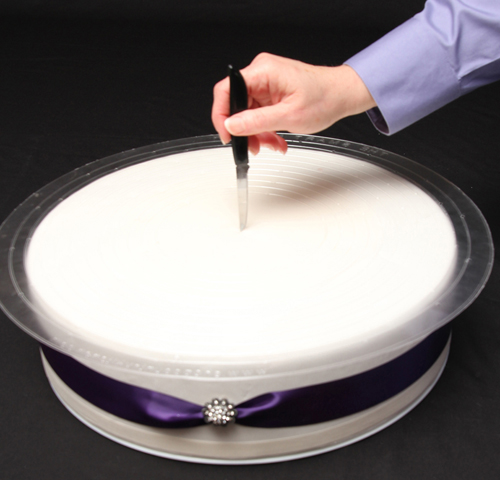
Using the coring tool (provided) cut a hole in the center of the cake
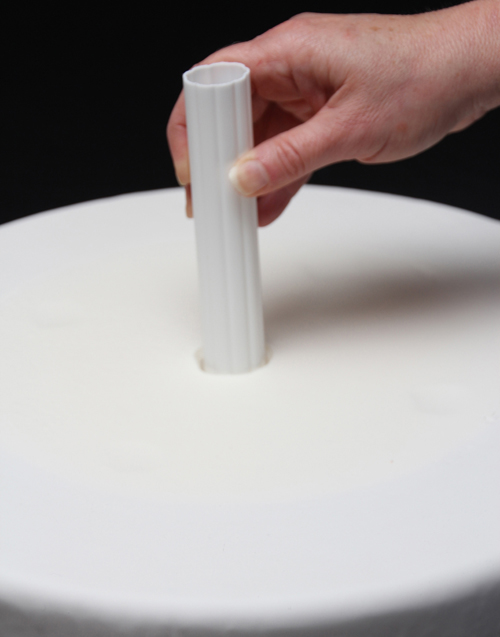
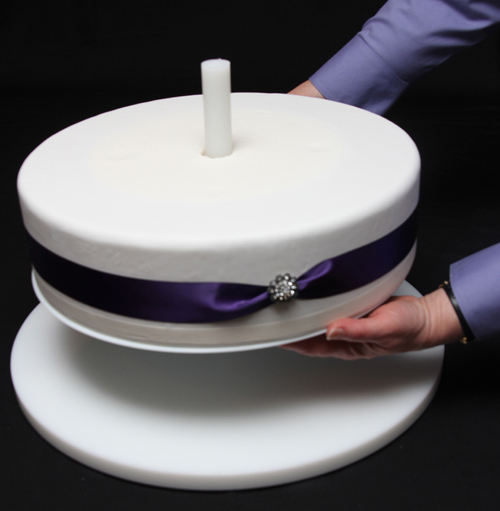
Slide bottom cake over the post and rest on base
Add supports (dowel support kit sold separately on the products page)
Continue adding additional cakes and supports. Partial assembly on site is recommended for cakes 20″ or taller.
For the top cake, use the coring tool and cut a hole in the cake from underneath the cake. Take care not to go through the top of the cake with the coring tool.
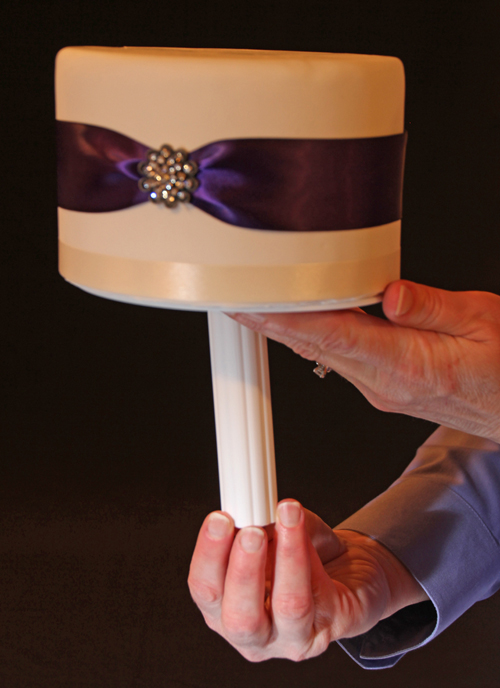

To move the cake lift the cake stand using the hand holds in the base. We suggest lifting a finished cake with 2 people.

Note the hand holds on the bottom or the base along with non-skid feet and a label to mark your stand.

Place the cake on non-skid material to transport.

Deliver with confidence!


Convert to an awesome CUPCAKE Stand
User Guide
1. Place cakes on Stable Mabel cake plates or board that has been prepared with hole cut in
the center (see tips below)
2. Ice and decorate cake
3. Attach the appropriate length of post to base (be sure handholds are on bottom of stand).
For extended length attach either the 4.75”, 8”, or 12” post to the top of the 16” post. Stable
Mabel cake stands are not intended for use with cakes higher than 28”.
4. Using the Smart Marker, mark the center of the cake with a knife tip or toothpick
5. Using the coring tool, cut a hole in the center of the cake
6. Slide bottom cake over the post and rest on base
7. Add support (dowel rods, hidden pillars or Stress Free Supports)
8. Continue adding cakes and supports. Partial assembly on site is recommended for cakes
over 24”.
9. For the top cake, use the coring tool and cut a hole in the cake from underneath the cake.
Take care not to go through the top of the cake with the coring tool.
10. To move the cake lift the cake stand using the hand holds in the base.
11. Place cake on non-skid material to transport
12. Deliver with confidence!
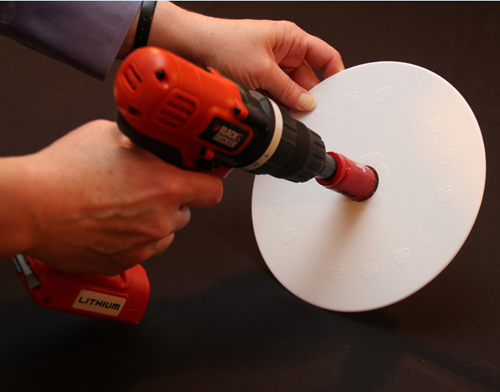
Hole Cutting Tips: To make a hole in your plate: use the Smart Marker to find the center of the plate
or cardboard an then use and x-acto knife for cardboard or use a 1 1/8” hole saw on a drill to cut a
plastic plate or a stack of cardboard.