Stable Mabel has released an innovative, cost effective, and disposable tiered cake system to keep cakes both level and upright. The new Stable Mabel system provides everything needed to stack a 2-3 tiered cake – except the cake! This newest addition to the Stable Mabel family of products is a disposable system providing the same reliable quality while eliminating the need to track and process equipment returns.
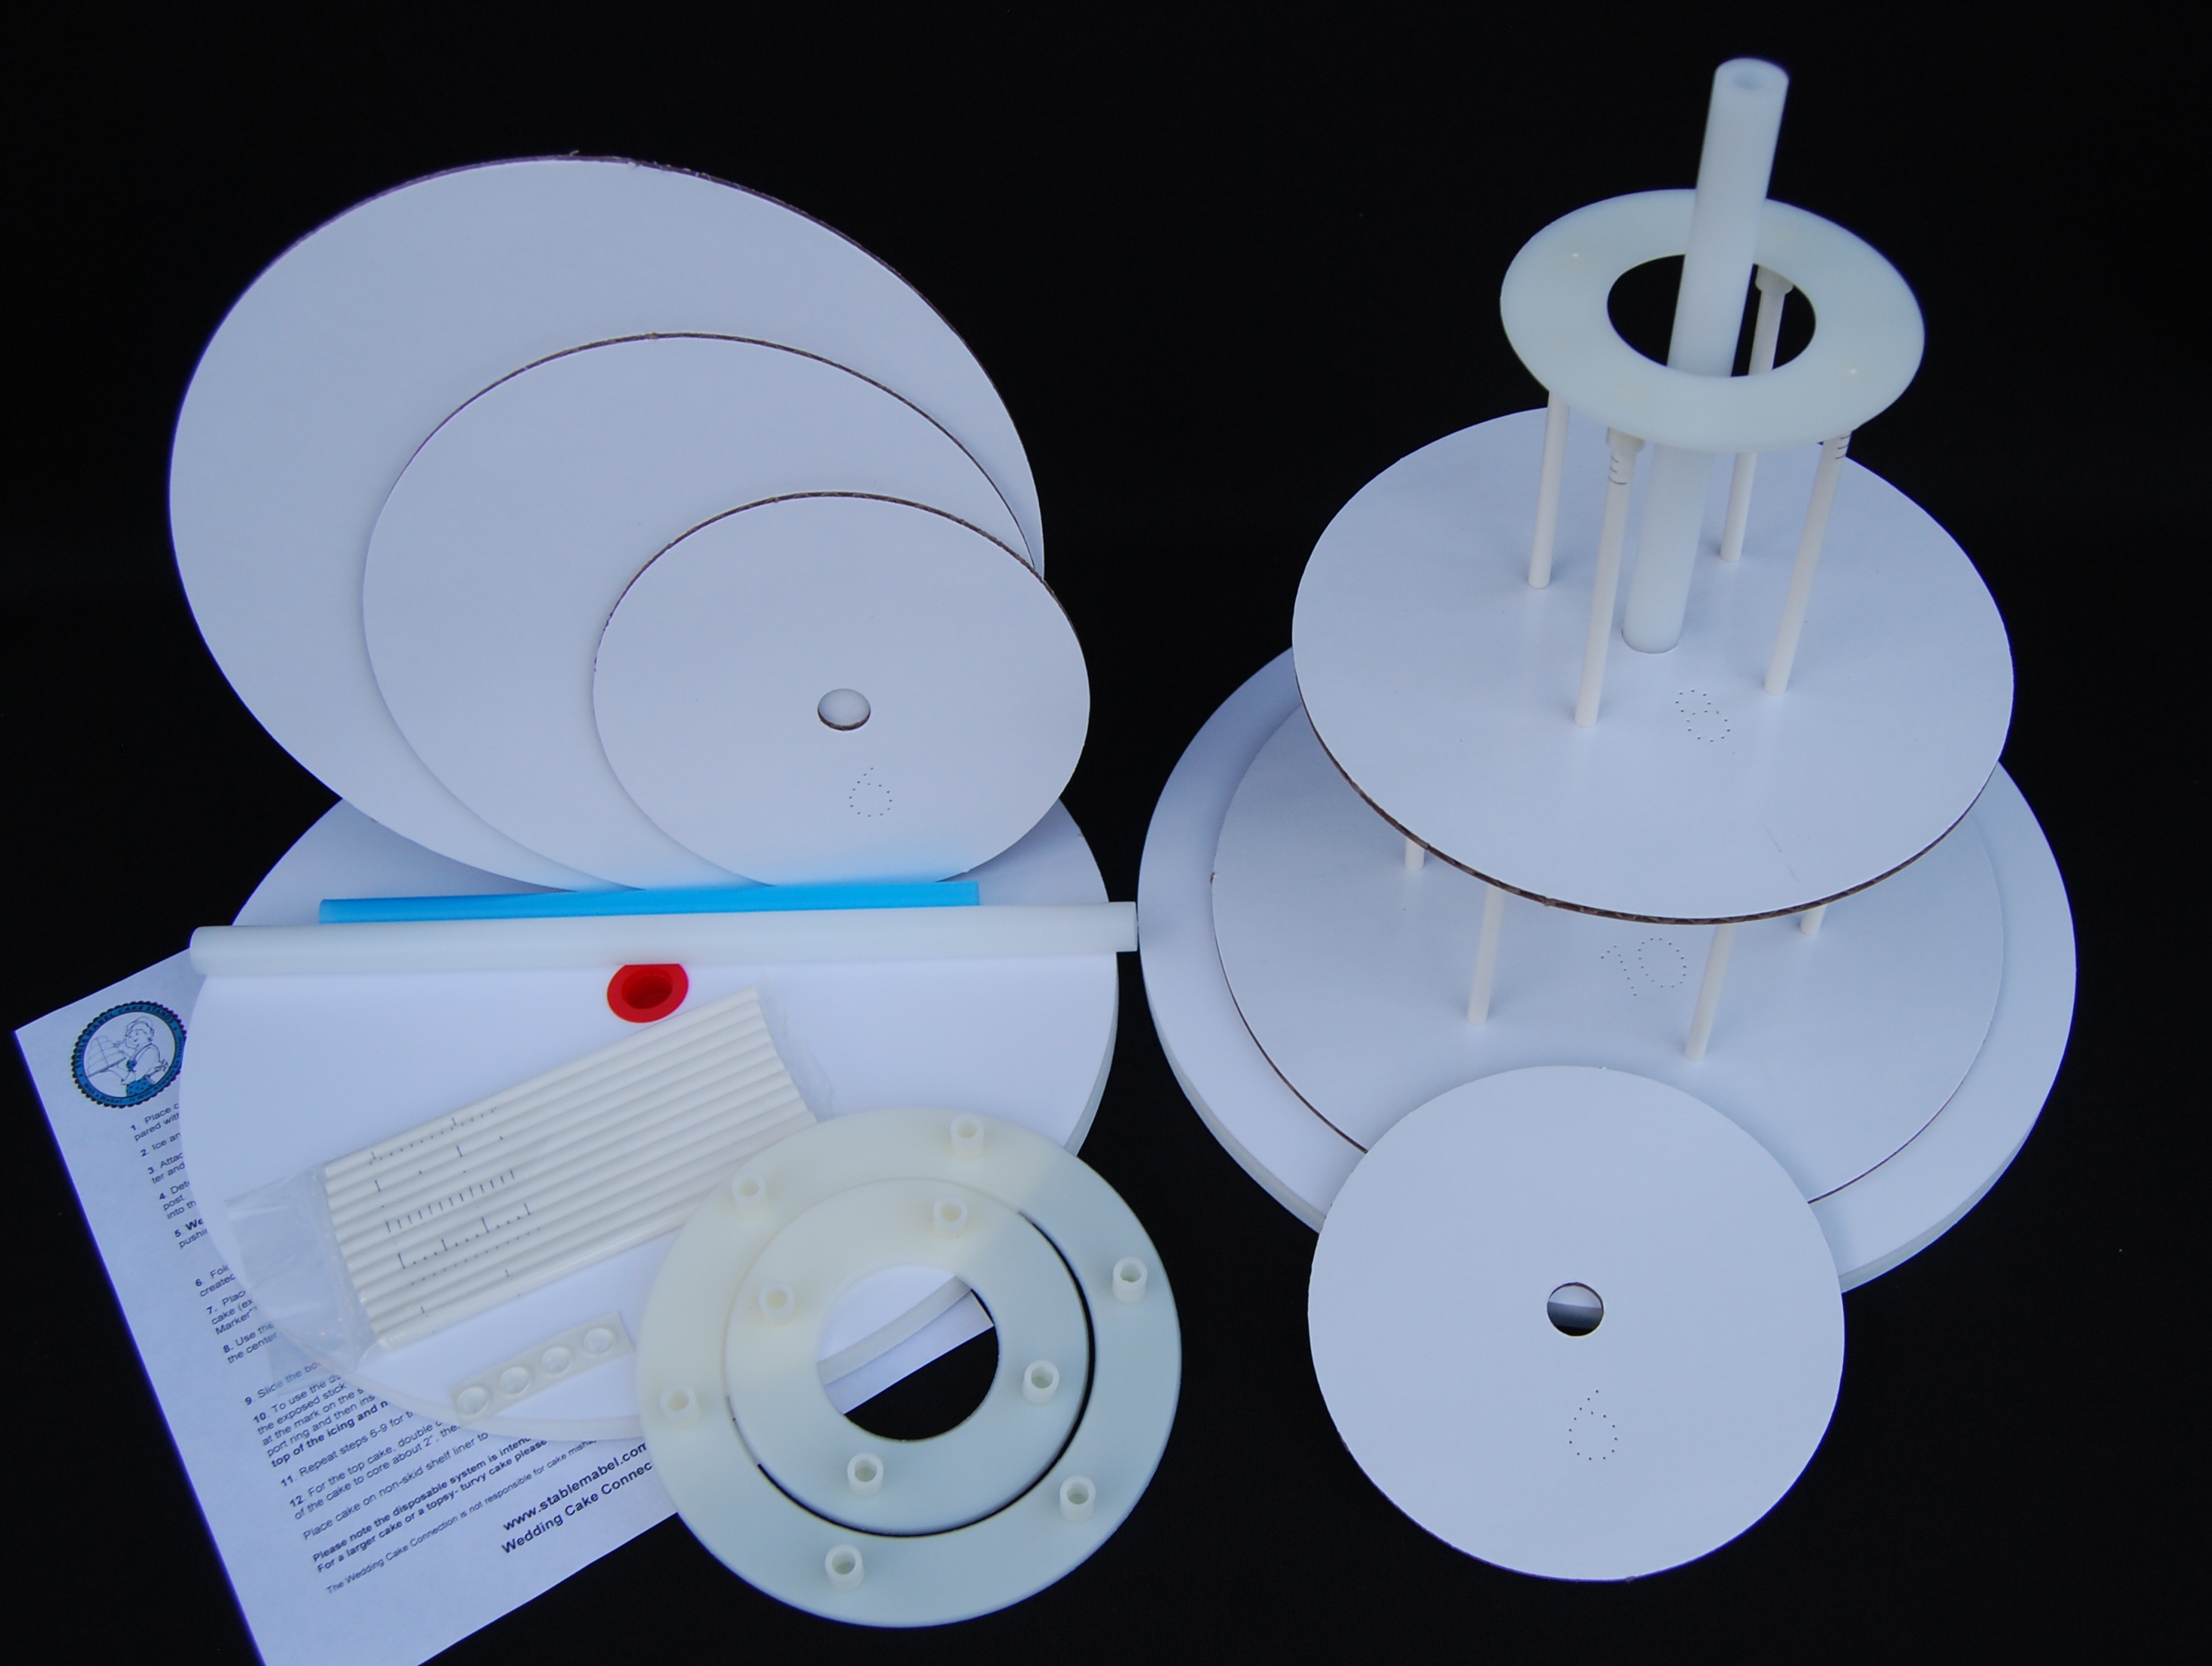
The kits come in 5 sizes: 10, 12″,14″(2) & 16″ bases. Kits include 1/2″ plastic covered foam base, pre-drilled coated cardboard plates, a center post, dowel rod support kit and rings, coring tool, non-skid feet and a user guide.
Kit pieces/ Assembled kit
Step by step guide
Stack cakes with confidence in just a few easy steps!
1. Attach non-skid feet to the bottom of base. The center post is pressure fitted into the base plate. For extra strength, we suggest adding a dot of hot glue before adding the post.
2. Place cakes on pre-drilled cardboard, ice & decorate. The cake in the photo has been placed on a board the same size as the cake and then place on a larger board for ease of moving. Core cake with coring tool.
3. Insert the dowel rod into the cake to measure the length. Use the cutting guide to cut all of the dowels to the same length.
4. Insert dowels into ring support
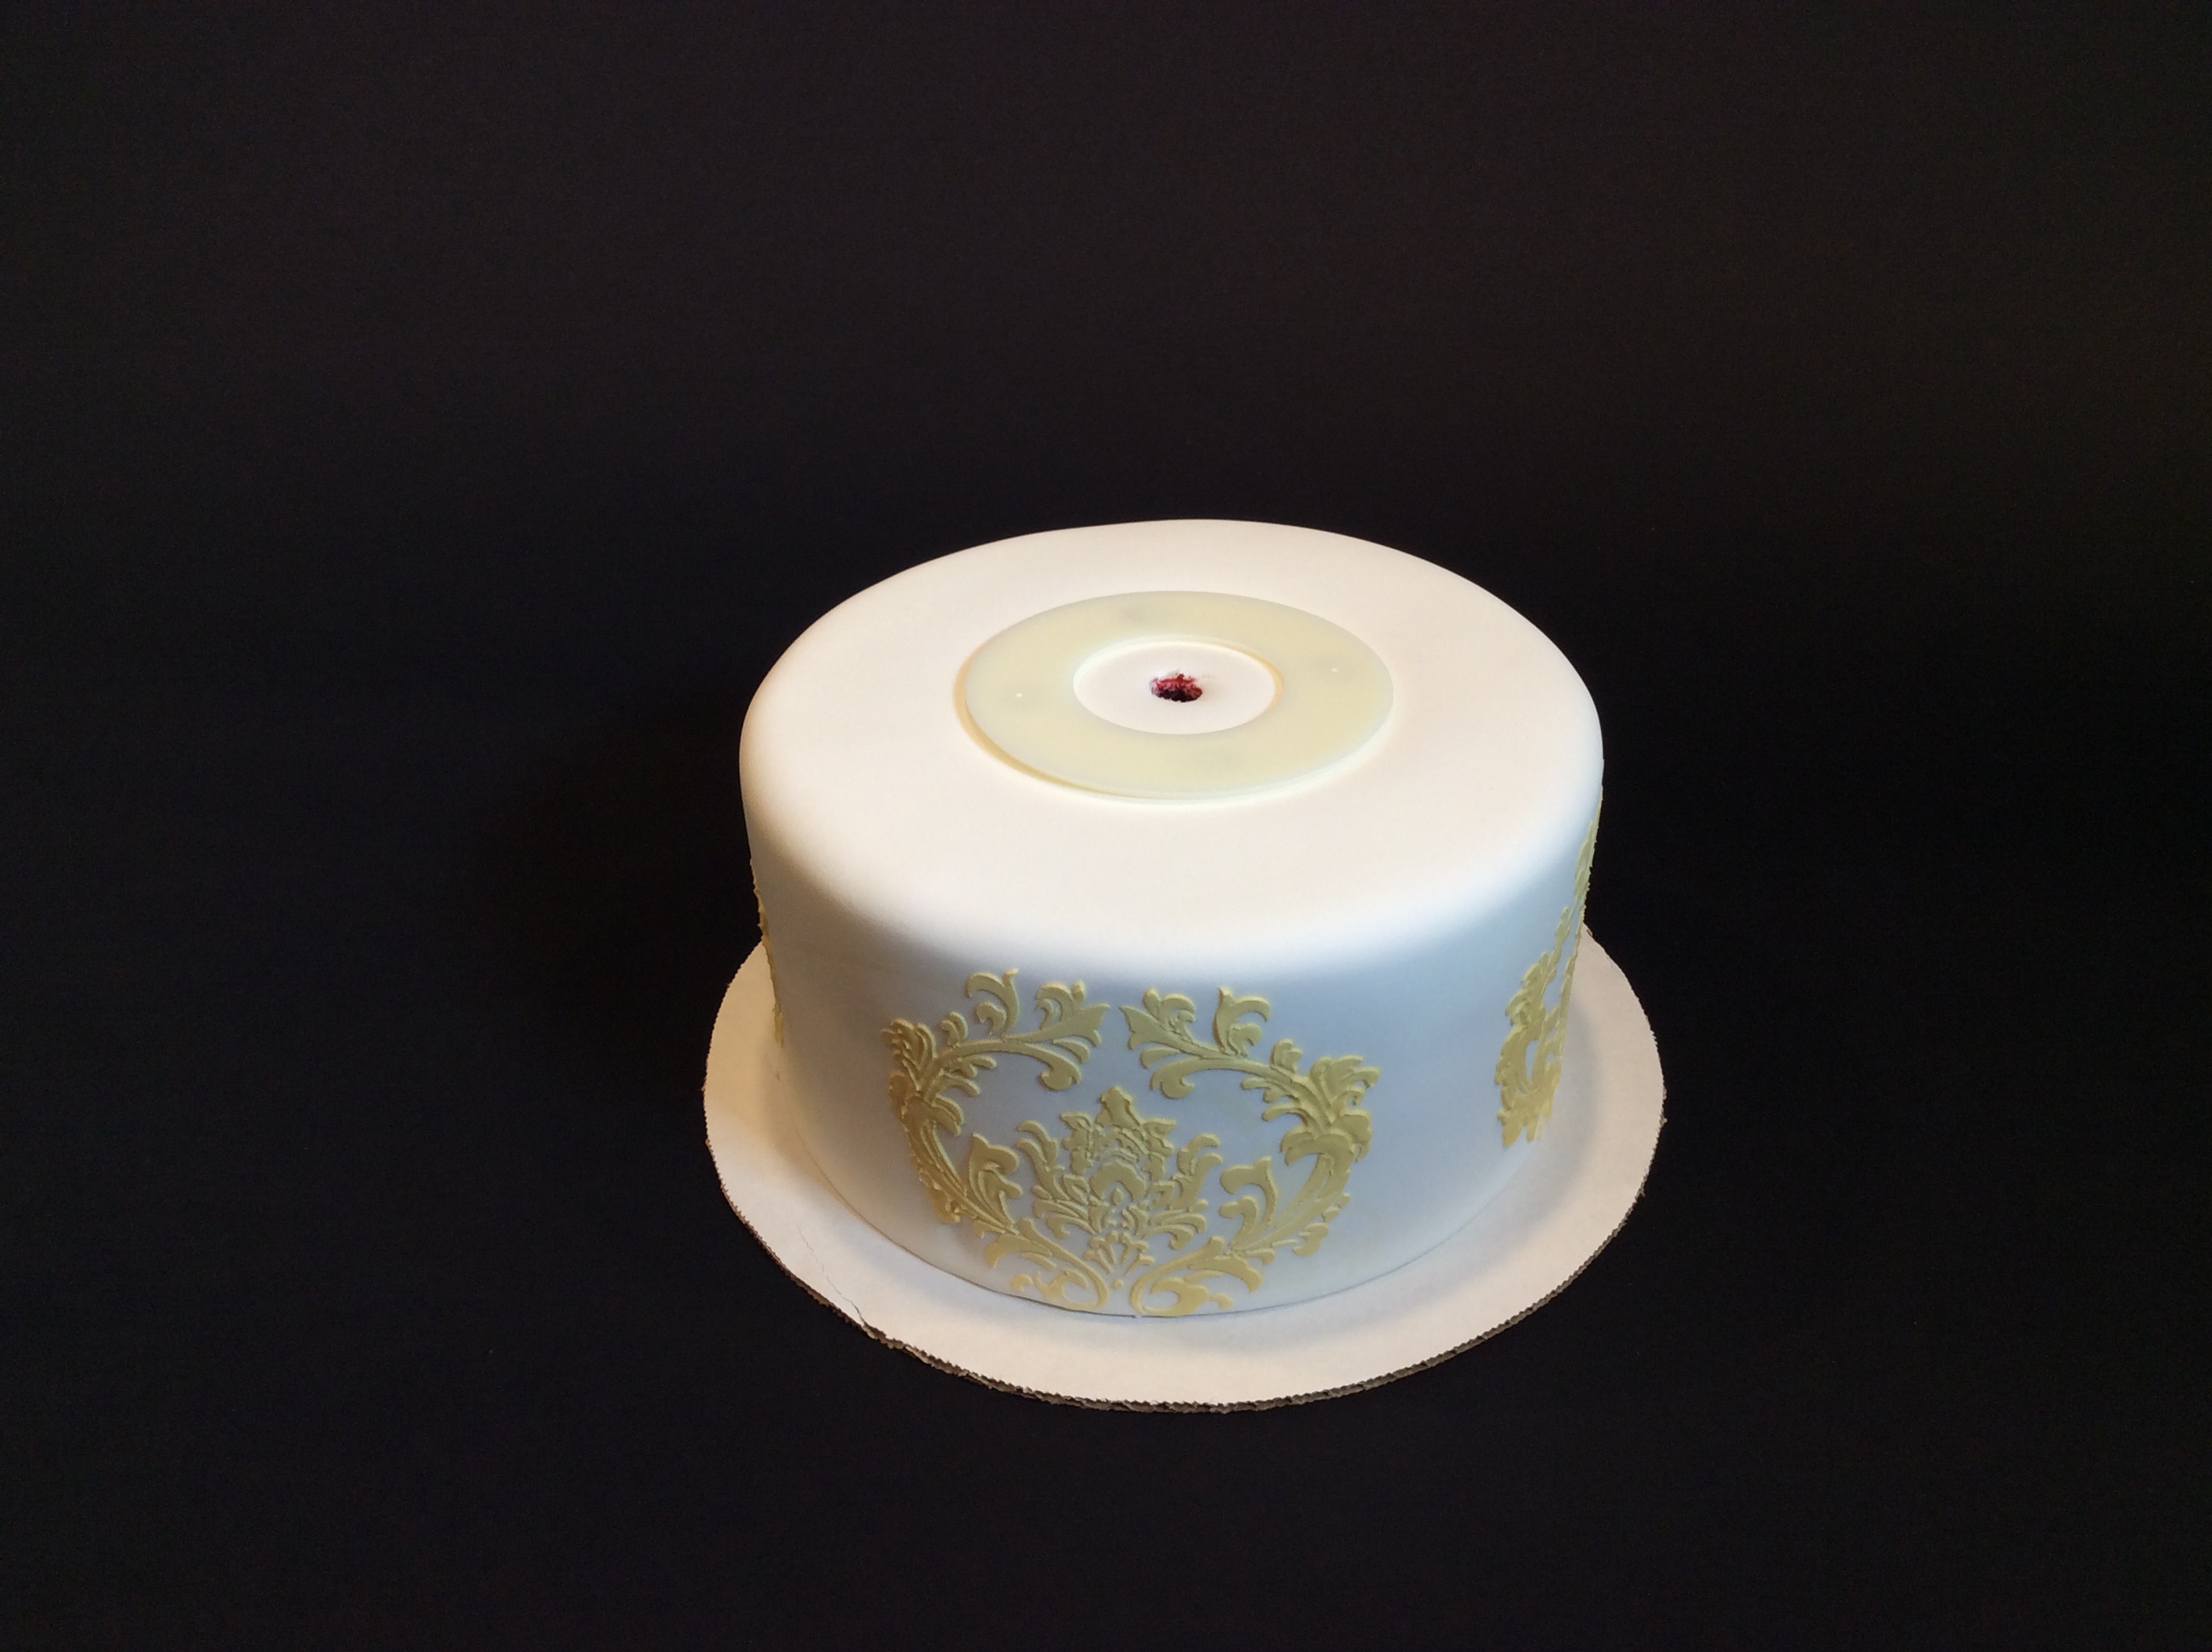
5. Insert the dowel support ring into the cake. The ring must sit flush on the top of the cake with no space between the ring and the icing.
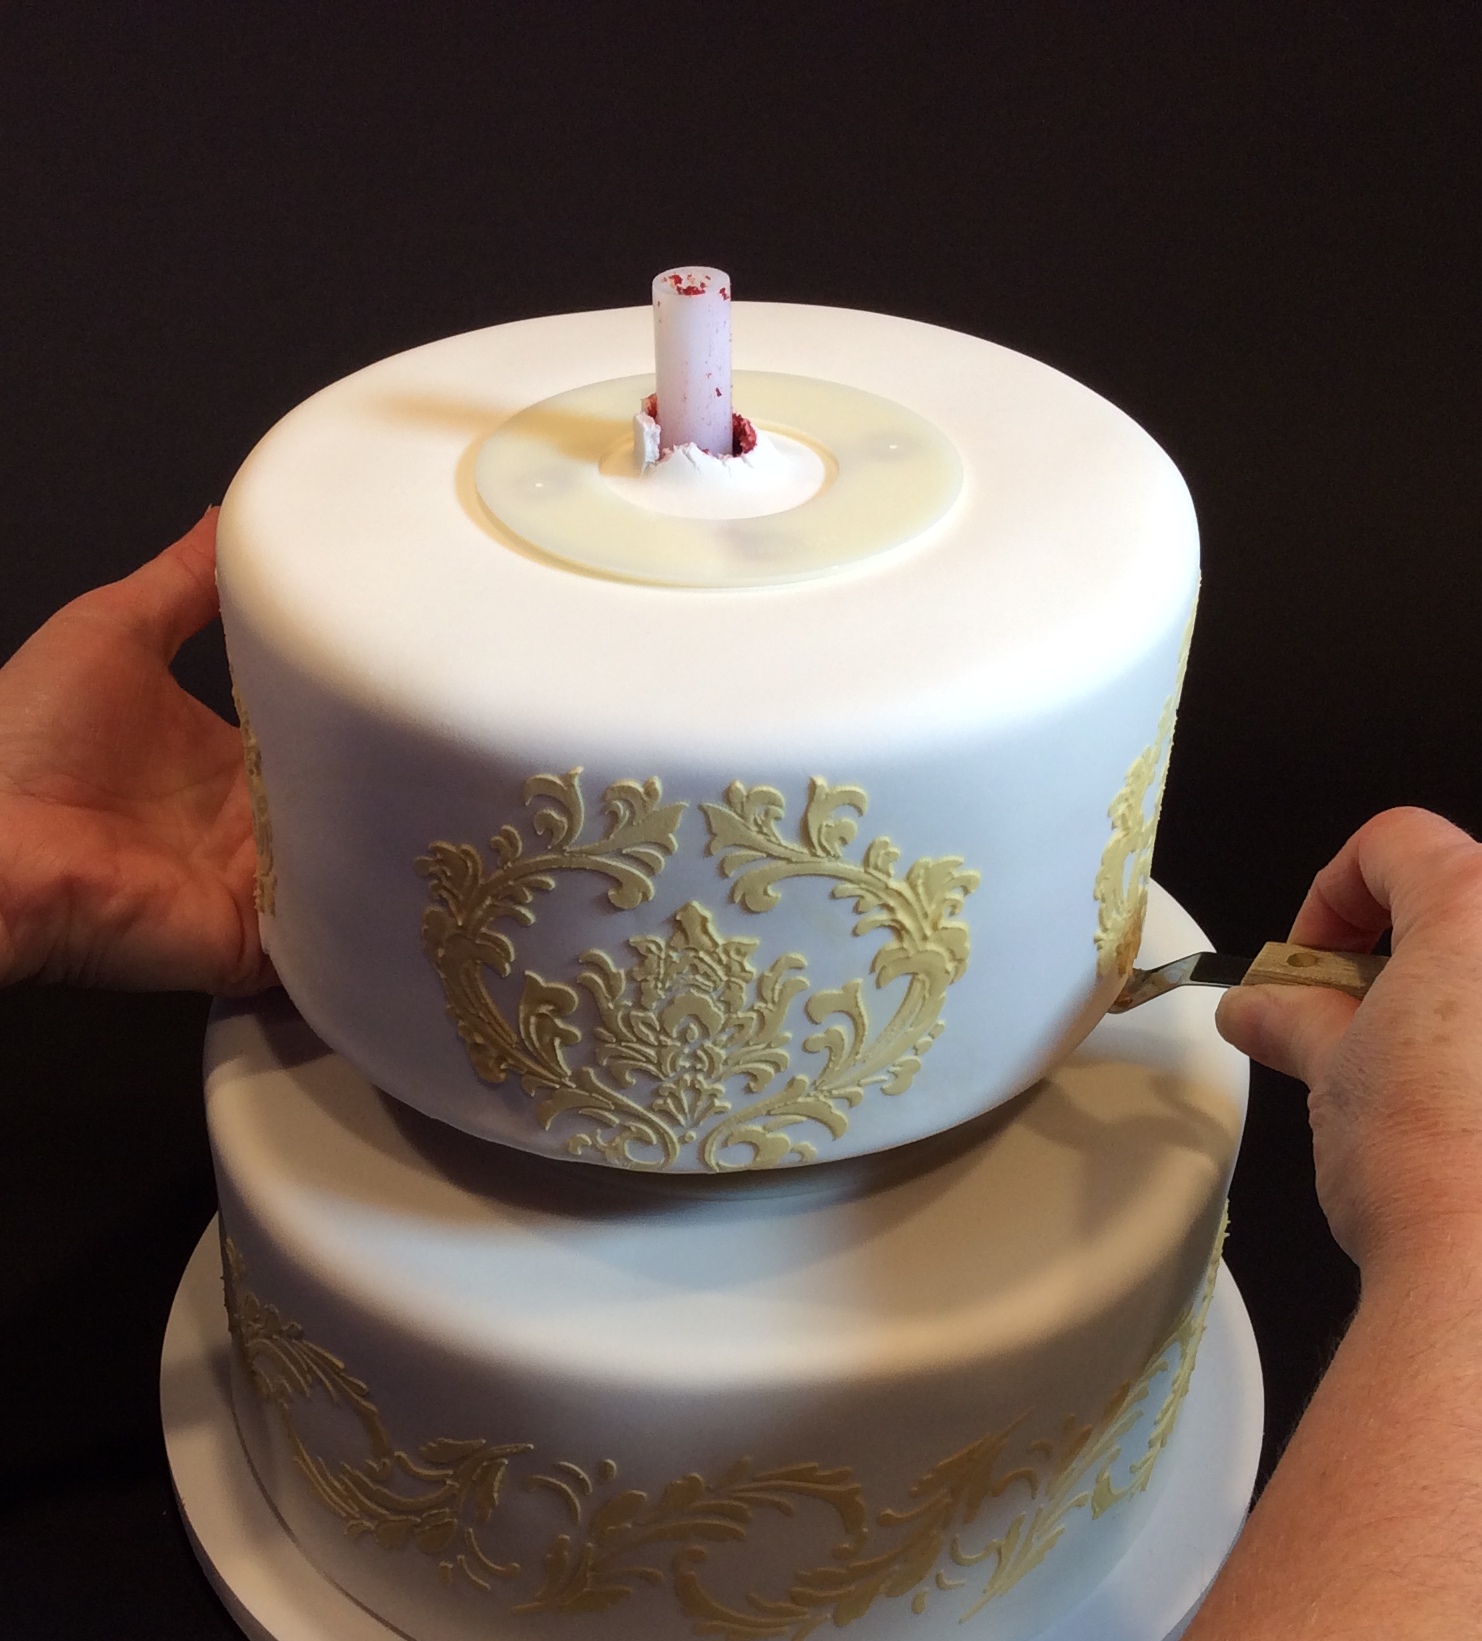
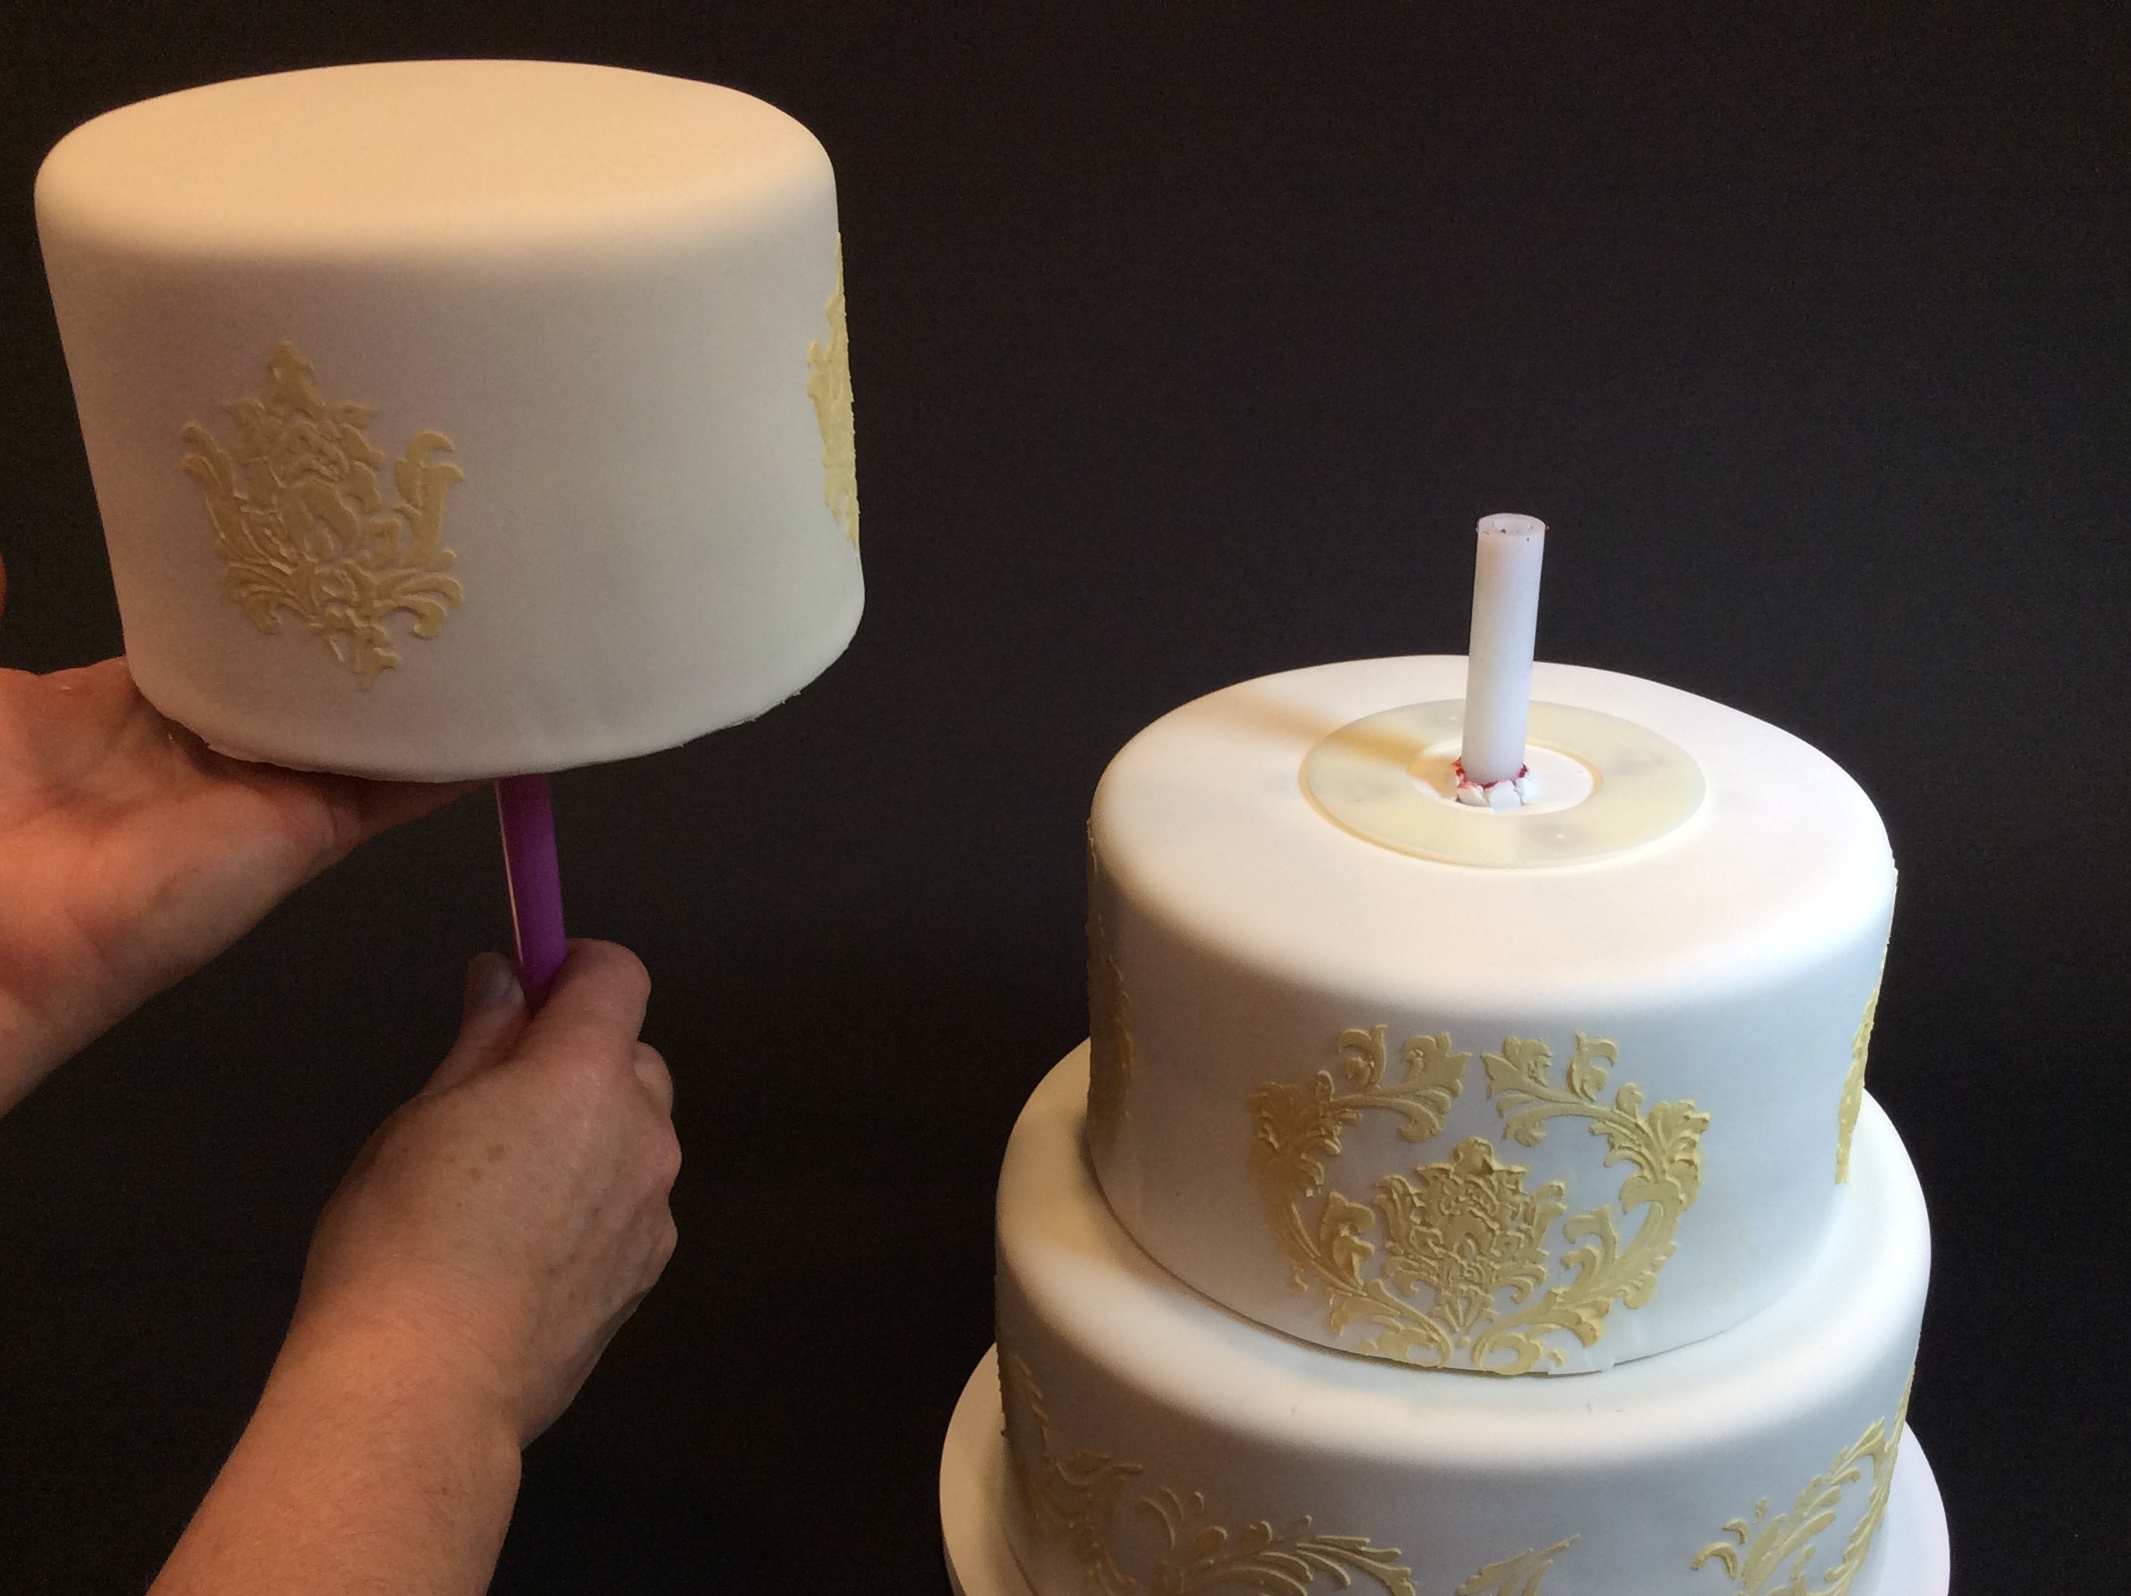
8. Core the top cake (only half way in) from the bottom. Feed the top cake on to the center post
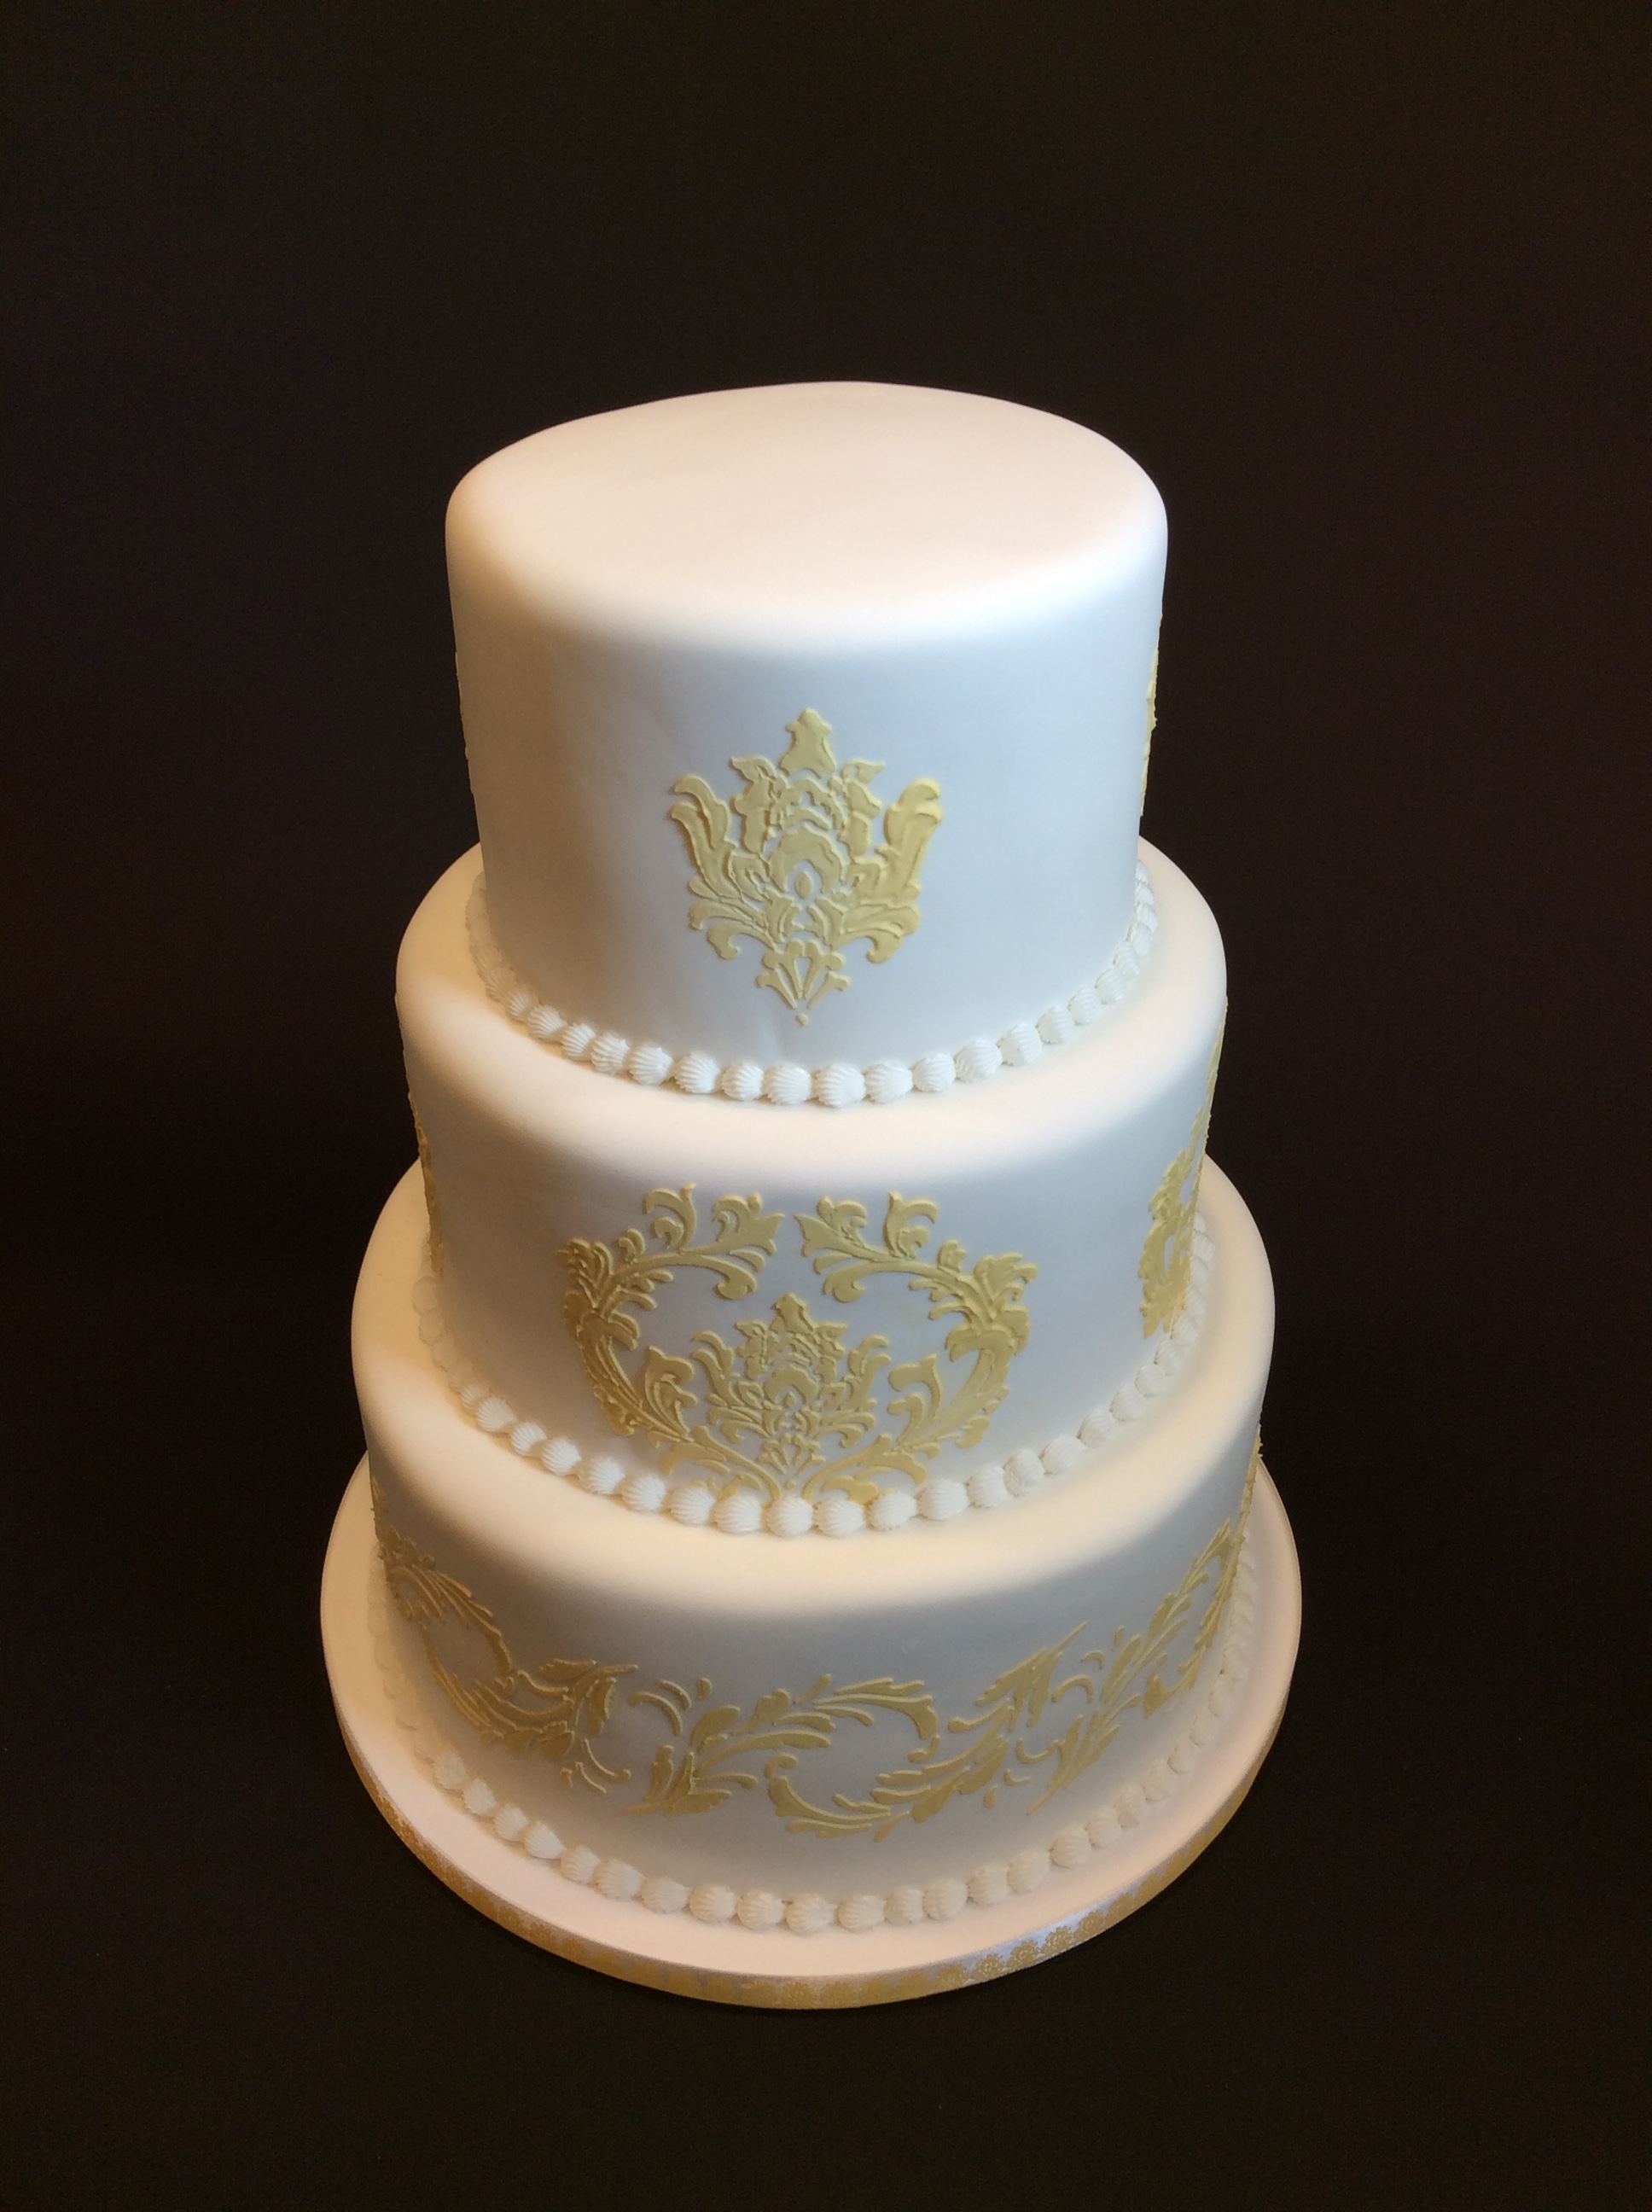
9 Add borders and a ribbon around the base
Bake it… Stack it… Move it… No worries!
User Guide
CONSTRUCT THE BASE
1. Place cakes on the cardboard cake plates that have been included in your kit or a board that has been prepared with a 5/8” hole cut in the center.
2. Ice and decorate the cake as you wish before assembly.
3. Attach the 4 self-adhesive feet to the bottom of the cake base. Note: the bottom of the base has a clear center and the red center should be on the top of your base.
4. Determine the length needed for your center post. A 2 tier cake where each cake is 4” high will need the 8” post. A 3 tier cake with 4” high cakes will need the 12” post. The post can be trimmed with pruning sheers, a pvc pipe cutter, heavy knife or saw. The post should go into the bottom of the top cake but not extend more than half way into the cake.
5. We recommend attaching the post to the base with hot glue. Attach the center post by firmly pushing into the red coupler located in the top of the base plate.
PREPARE THE CAKES
6. Fold each provided parchment circle in half twice (quartered). Use scissors to cut a small hole in the center of the parchment paper.
Place the parchment paper circle on top of the same sized cake as a template to locate the center of each cake (excluding the top cake). Make a small mark at the center of the cake with a knife or toothpick. A “Smart Marker”™ will also work well to find the center of the cake.
Use the clear straw as a coring tool. Insert the straw at the center of the cake and remove to core a small hole in the center of the cake. To reuse the straw in the next cake, trim the end of the straw that has cake in it.
STACK THE CAKES
9. Slide the bottom cake over the post and rest on base, the post will help you center the cake.
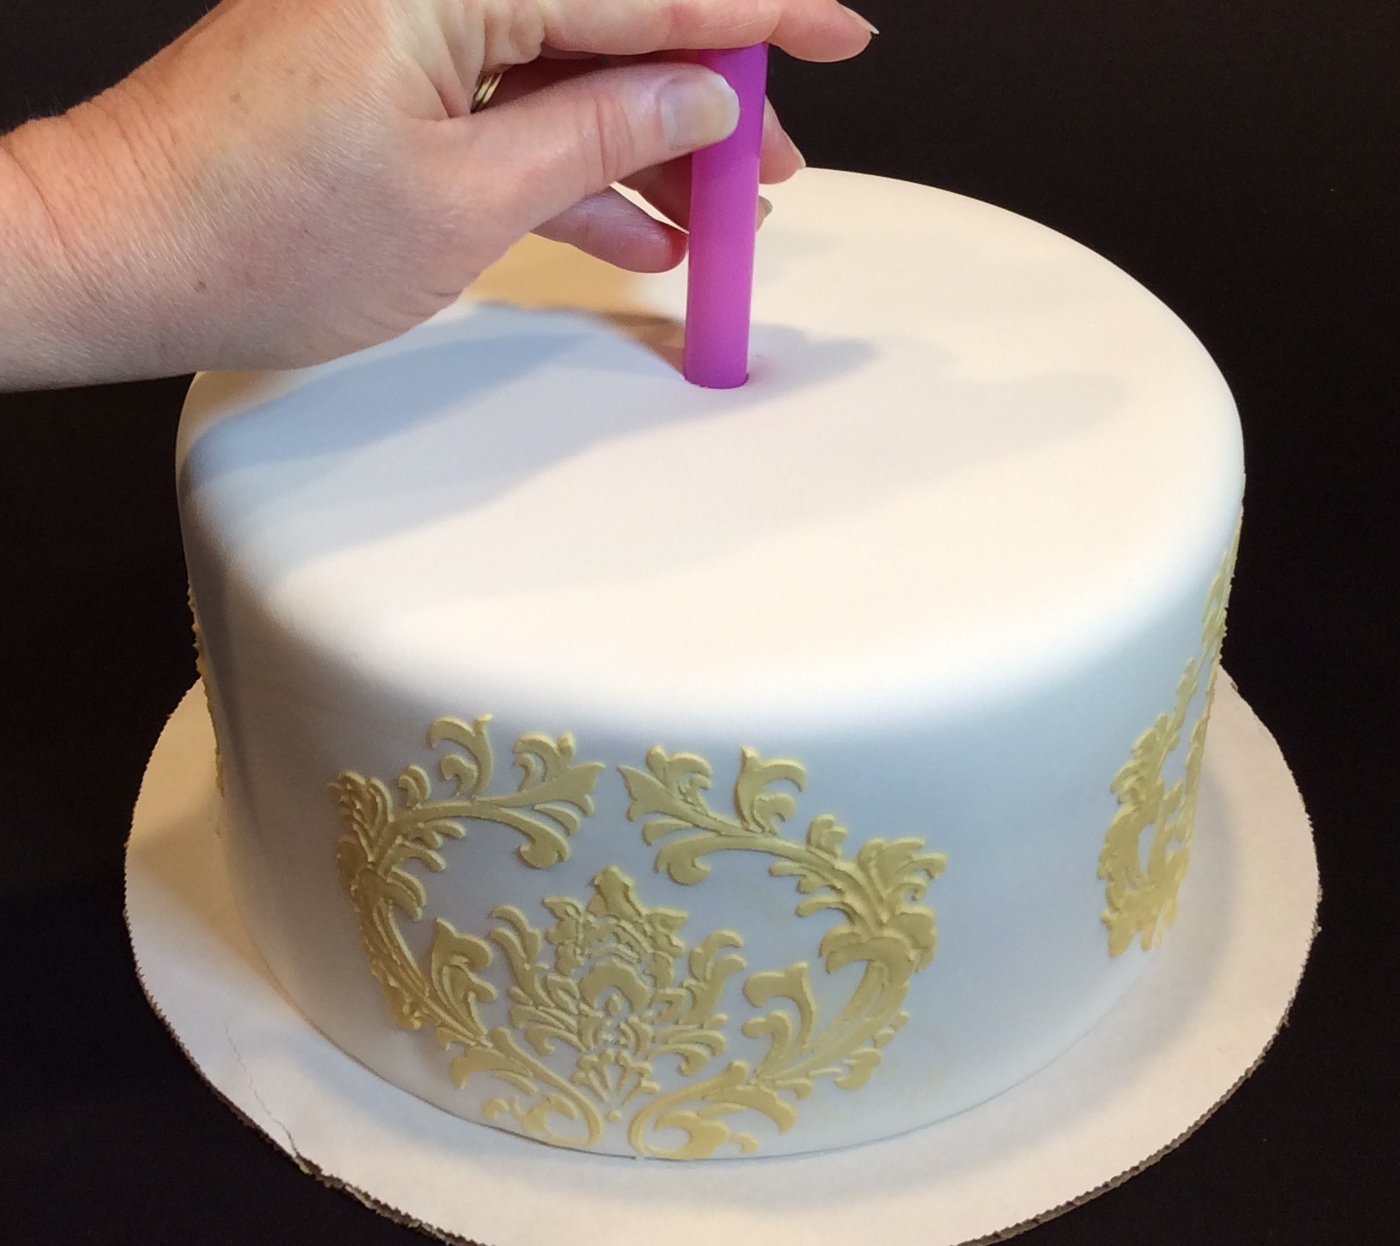
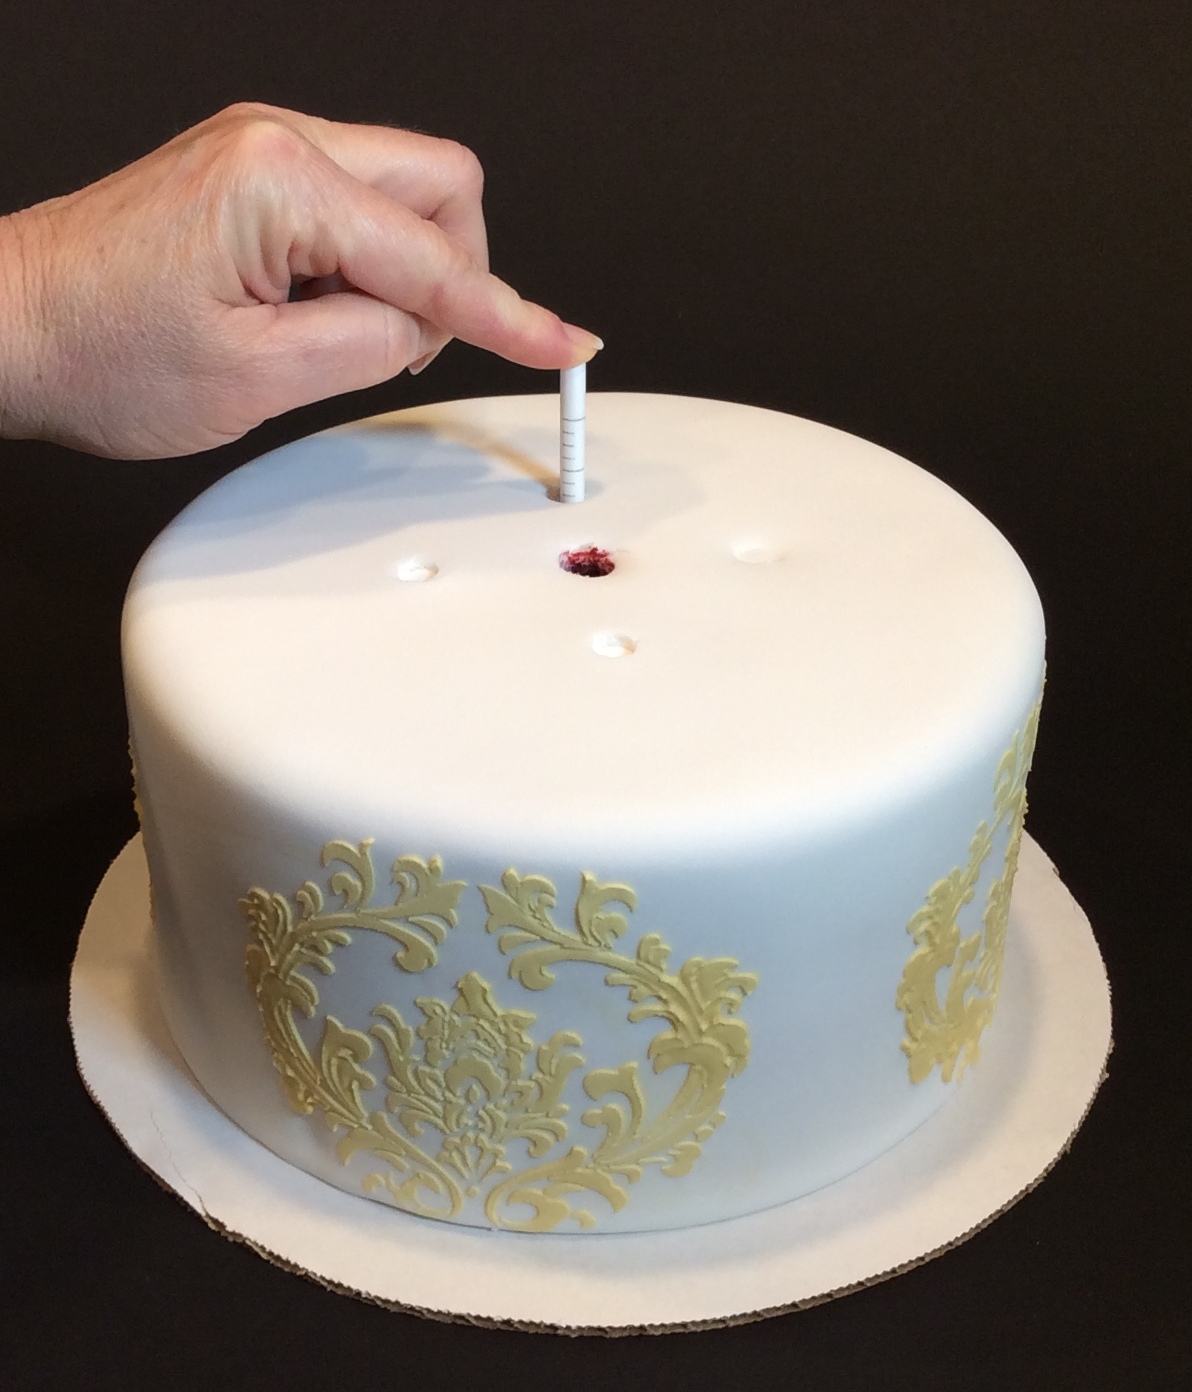
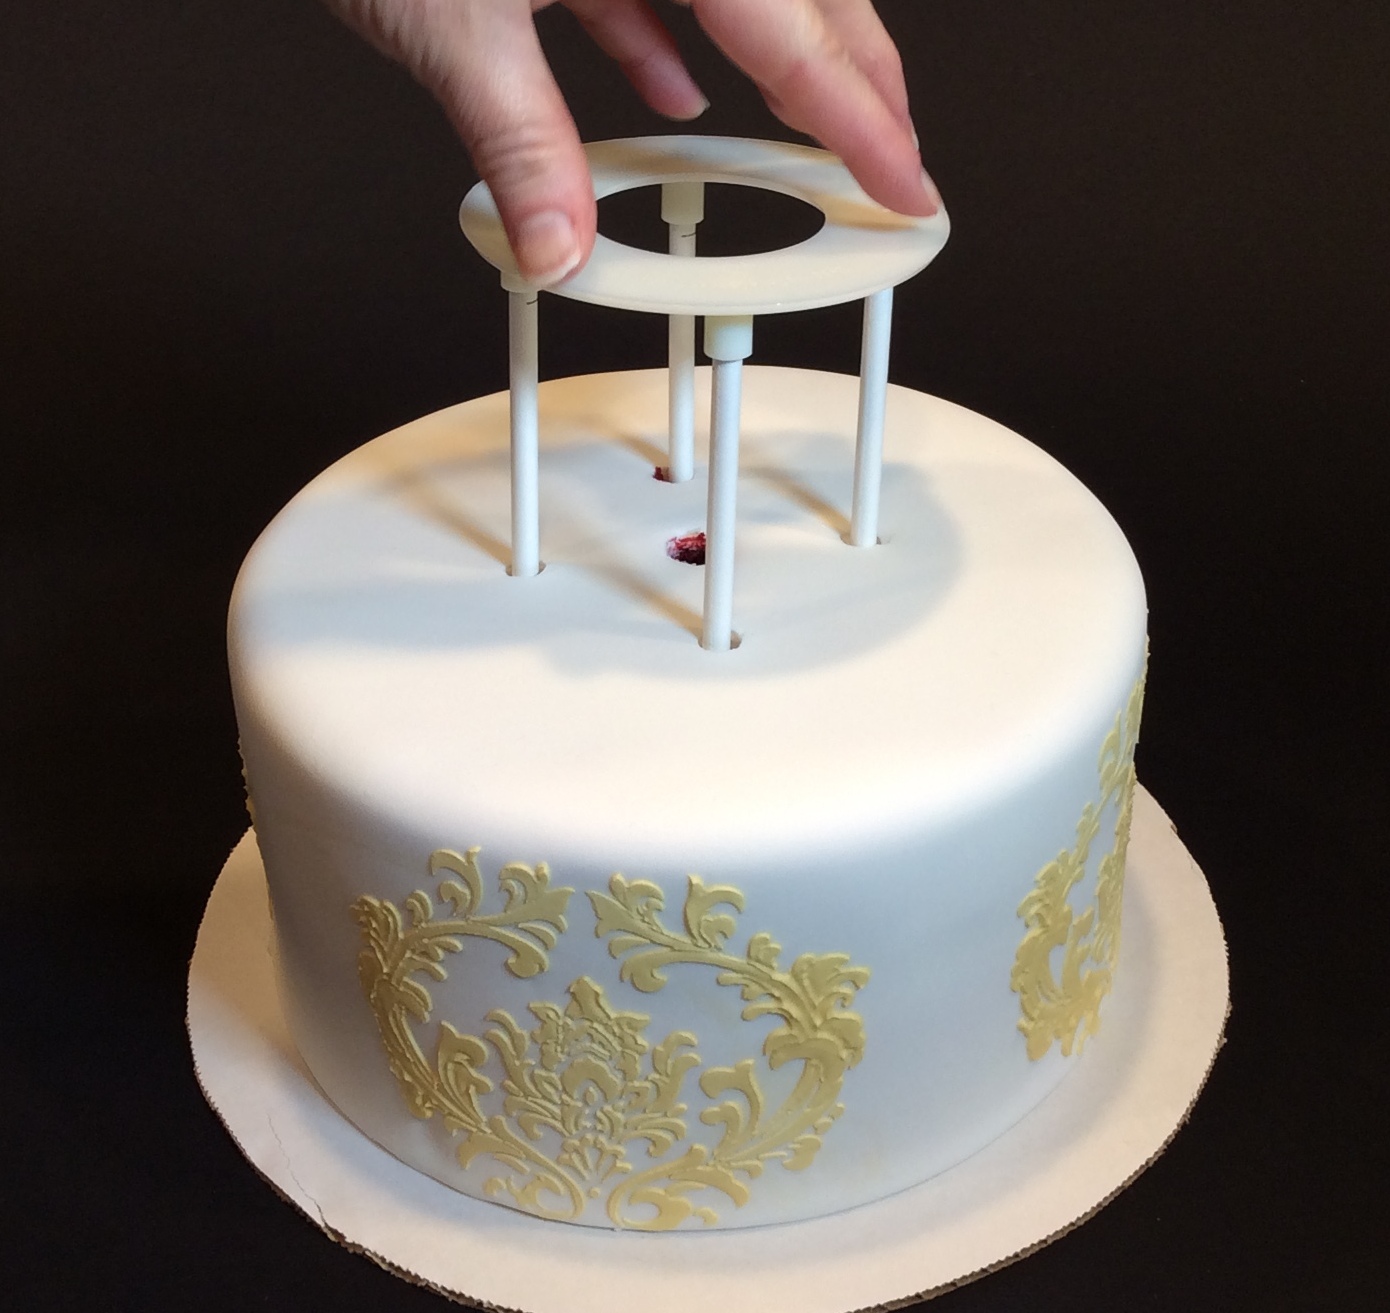
10. To use the dowel support system, insert the white stick into your cake within 2 inches of the center. Mark the exposed stick where it meets the icing. Cut 4-6 dowel rods (depending on the size of the support ring) 1/8” shorter than the mark on the stick, all the dowel rods need to be the same length. Insert the cut dowel rods into the support ring and then insert the assembled ring into the cake. It is very important that the ring sit flush on the top of the icing and not have a gap. Check to be sure the support ring is level.
11. Repeat steps 6-9 for the additional tiers, except for the top cake.
12. For the top cake, double check to be sure your post is not too long and then simply slide the cake onto the center post. It is not necessary to core the top cake.
Place cake on non-skid shelf liner to transport. Deliver with confidence!
Please note the disposable system is intended for a maximum of 3 tiers with the base tier no larger than 14”cake. For a larger cake or a topsy- turvy cake please look at the Stable Mabel Classic Set.

